An island needs more room than its countertop footprint. Start with the space left after existing cabinetry, then allow for movement on every side. A 90 × 180 cm island with 120 cm around it and one 60 cm cabinet run needs a 390 × 420 cm rectangle in the simplified example below. Doors, seating and appliances still need separate checks.
Measure the room before choosing the island
Measure between finished walls, then mark the depth of the existing worktop, tall cabinets and any other fixed projections. Use the narrowest usable part of the room: a column, radiator or projecting handle can matter more than the overall floor area. Record doors and windows so an attractive arrangement does not block something you need to use.
For the island, measure the complete countertop outline, including a breakfast-bar overhang. A cabinet base that is 60 cm deep does not necessarily have a 60 cm footprint once the top and seating are added. Keep the two measurements separate in your notes.
Mark the proposed outline on the floor with removable tape. Walk around it, open neighbouring appliances and imagine someone standing at the counter. This is a useful early check alongside a drawing, especially when you are comparing an island with another kitchen layout.
How much space should you leave around an island?
A working aisle, a route through the room and a seating area do different jobs. Choose the clearance for each use before deciding how large the island can be. These published planning references give you a starting point:
| Space | Reference | What it covers |
|---|---|---|
| Work aisle, one cook | 42 in / 106.7 cm | NKBA guideline 6 |
| Work aisle, multiple cooks | 48 in / 121.9 cm | NKBA guideline 6 |
| Walkway | 36 in / 91.4 cm | NKBA guideline 7; not a substitute for a work aisle |
| ENHET island to other kitchen units | 120 cm / 47.2 in | IKEA ENHET installation guidance |
The NKBA planning guide, guidelines 6–7, distinguishes working aisles from walkways. The IKEA ENHET guide, printed page 14, gives the 120 cm spacing for its island planning. These are separate references: 120 cm is slightly less than 48 inches, so do not treat the two as identical.
Our calculator starts at 120 cm as an editable example. You can apply the same target to every side or choose a different gap for each use. Confirm the requirements for your products, location and household before installation.
Three rooms to reason through
The following are original planning scenarios, not completed installations. Each starts with one 60 cm cabinet run and a 120 cm clearance target on every side. The dimensions include the full worktop footprint. Their purpose is to show how a decision changes when the room or island changes.
1. Room to spare: 420 × 440 cm
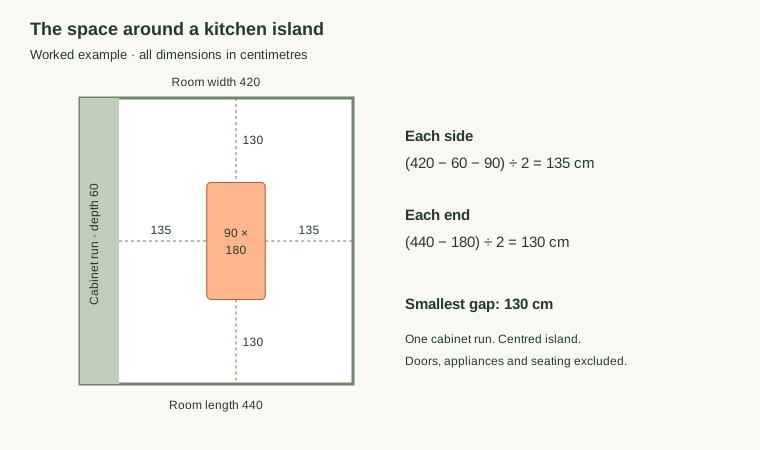
A 90 × 180 cm island leaves 135 cm on each side and 130 cm at each end. The extra space is visible on the plan. Before making the island larger, decide whether you would use the added surface or value the wider route more.
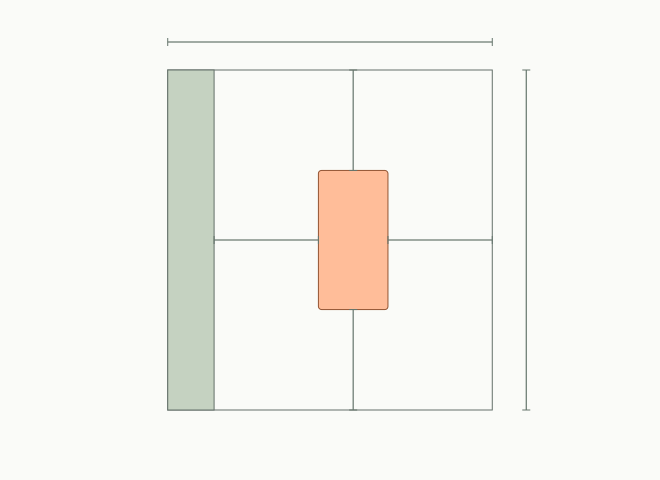
Open this example in the calculator →
The same island needs a 390 × 420 cm room to reach exactly 120 cm on all sides: 60 + 90 + 120 + 120 across, and 180 + 120 + 120 along the room. That is about 12 ft 10 in × 13 ft 9 in for this arrangement.
2. Too tight: 360 × 400 cm
Keep the 90 × 180 cm island but reduce the room. The gaps become 105 cm at the sides and 110 cm at the ends, below the chosen 120 cm target. The footprint fits inside the walls, but that is a different test from meeting the intended passages.
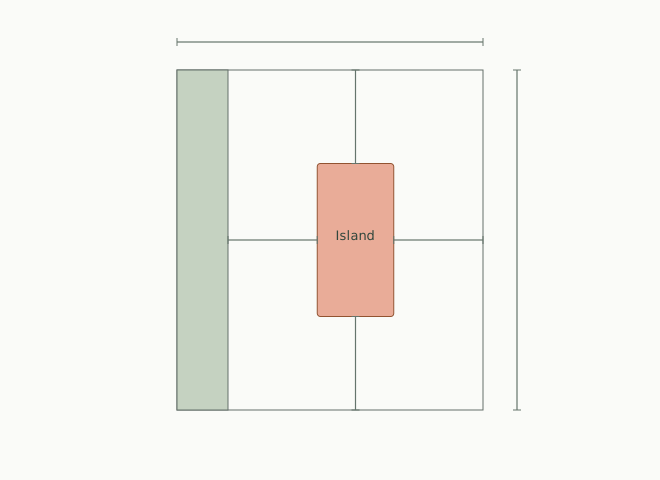
Open this example in the calculator →
A 60 × 160 cm footprint reaches 120 cm on all four sides in this room. That is 30 cm narrower and 20 cm shorter. Check whether the actual cabinet, worktop and intended activities can fit into that reduced footprint; it is not automatically a useful island.
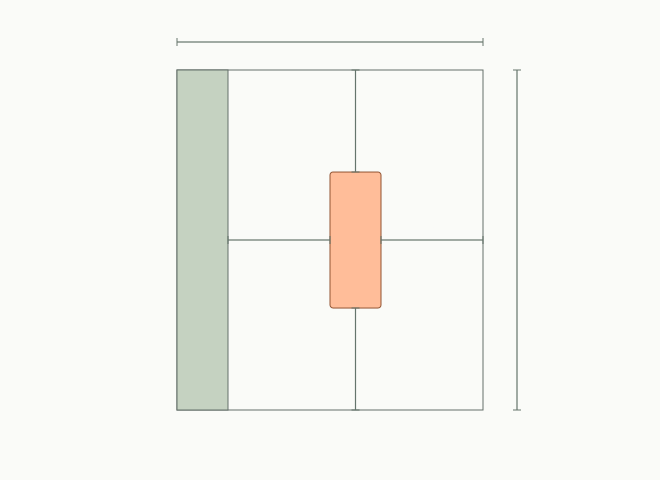
3. No width left: 300 × 360 cm
The cabinet run and two 120 cm side gaps use the entire 300 cm width before an island is added. Reducing only the island length cannot solve this. If extra worktop is the priority, compare a connected peninsula or a longer wall run instead.
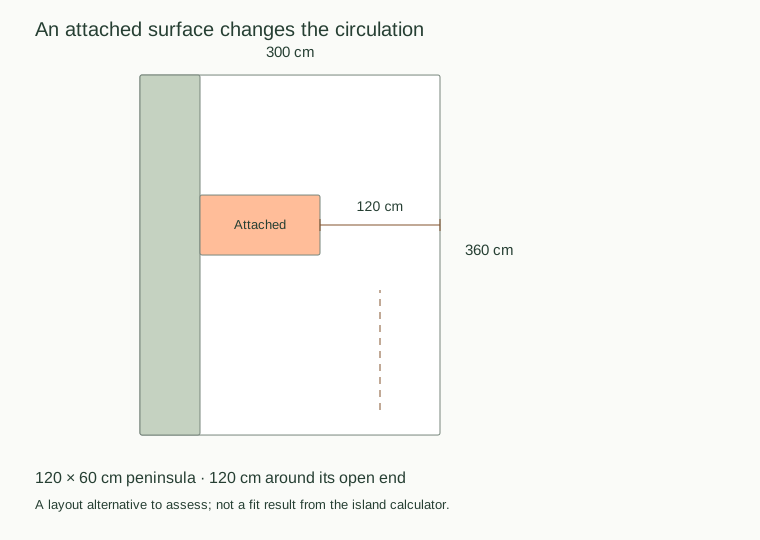
See why the freestanding island fails →
A peninsula removes the need for a passage on its attached side, but creates one route around the end. Check that it does not turn the kitchen into a dead end or interrupt access to a door.
How big can the island be in your room?
Subtract the cabinet depths and your chosen clearances from each room dimension. What remains is the maximum rectangular island footprint for those assumptions. Our kitchen island size calculator can do this before you have selected an island.
In the 420 × 440 cm example, one 60 cm cabinet run and 120 cm gaps leave a maximum of 120 × 200 cm. Add a second 60 cm run on the opposite wall and the maximum width drops to 60 cm. The room area has not changed, but the space you can use has.
Choose Find my maximum size to explore that envelope, or Check my island to test a specific footprint. The model reserves full strips for cabinets on up to four walls. Short runs, irregular walls, doors and people require a more detailed plan. Leave space unused if that produces a better kitchen.
Find the footprint your room can accommodate
Change cabinet arrangements and clearance targets, rotate a proposal, then share or print the measured plan.
Use the free calculator →Check the things a rectangle cannot show
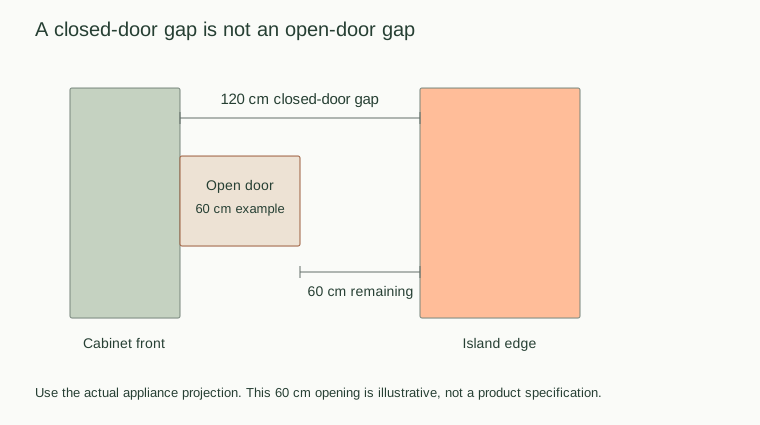
A gap with every door shut is not the same space when a dishwasher is open or someone is sitting at the worktop. Check these activities on the plan before treating a passing calculation as a finished design.
Appliance doors take space from the aisle
In the schematic below, a 60 cm door projection takes half of a 120 cm gap, leaving 60 cm between the open edge and the island. The projection is an illustrative input, not a standard appliance size. Use the actual model’s dimensions and opening instructions, then consider where the person loading it will stand.
Seating clearance starts at the worktop edge
NKBA guideline 8 distinguishes space with nobody passing behind a diner, space to edge past, and space to walk past: 32, 36 and 44 inches respectively (about 81.3, 91.4 and 111.8 cm). These measurements run from the counter edge to the obstruction behind the seating. They are not extra gaps measured from the back of the chair.
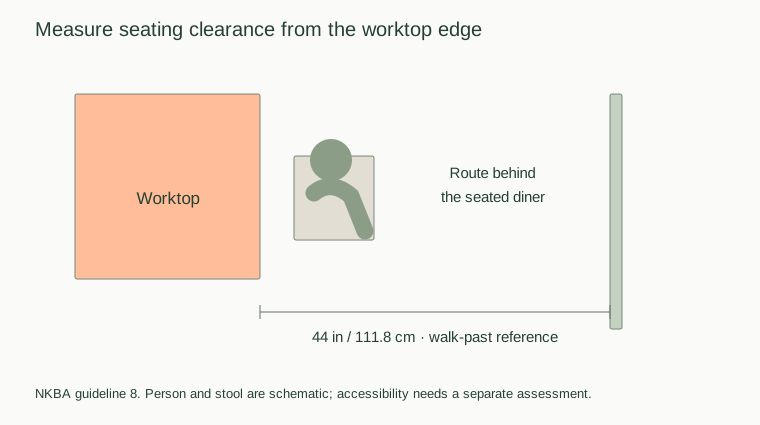
Choose the seating reference appropriate to the intended use, check knee space and stool dimensions, and allow for the people using it. A countertop overhang belongs inside the island footprint; the occupied area beyond the edge does not. An accessible arrangement needs its own assessment rather than a smaller target in this tool.
Check services and routes before buying
A sink or hob brings plumbing, power or ventilation decisions. Mark those alongside doors, drawers and routes to the fridge. Take the annotated plan and appliance specifications to your designer or installer, including the open-door states you checked.
If the island does not fit, change the brief
Start by deciding what the island is meant to do. If you need preparation space, a shallower worktable may solve the problem. If you want casual seating, an attached peninsula could leave a more useful route through the room. Extra storage might work better along an existing wall.
Compare a shorter island, a narrower footprint and a layout without a central unit before reducing every clearance. Rotating an island can change which dimension is restrictive, but it can also interrupt a doorway or daily route.
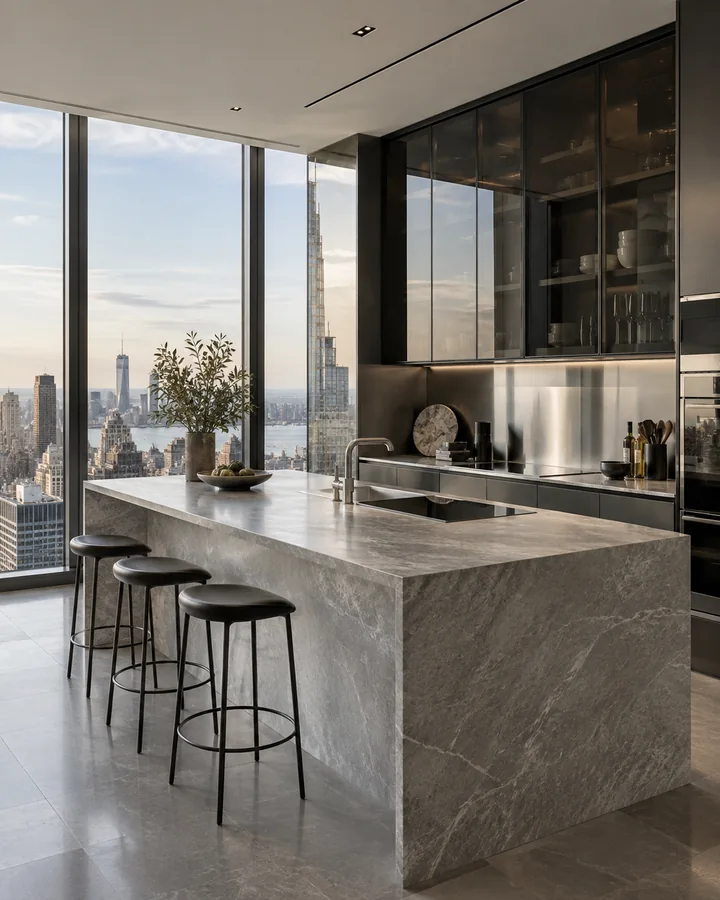
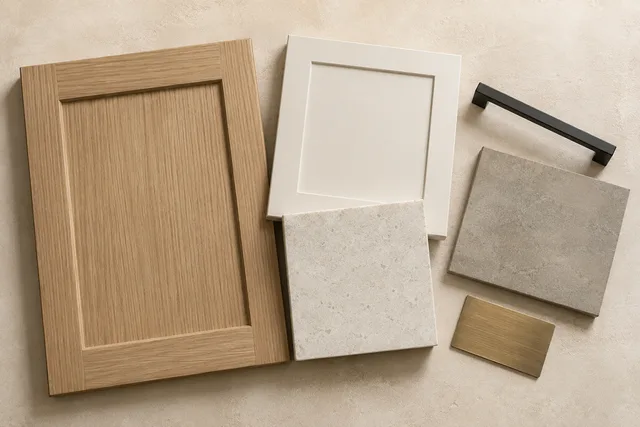
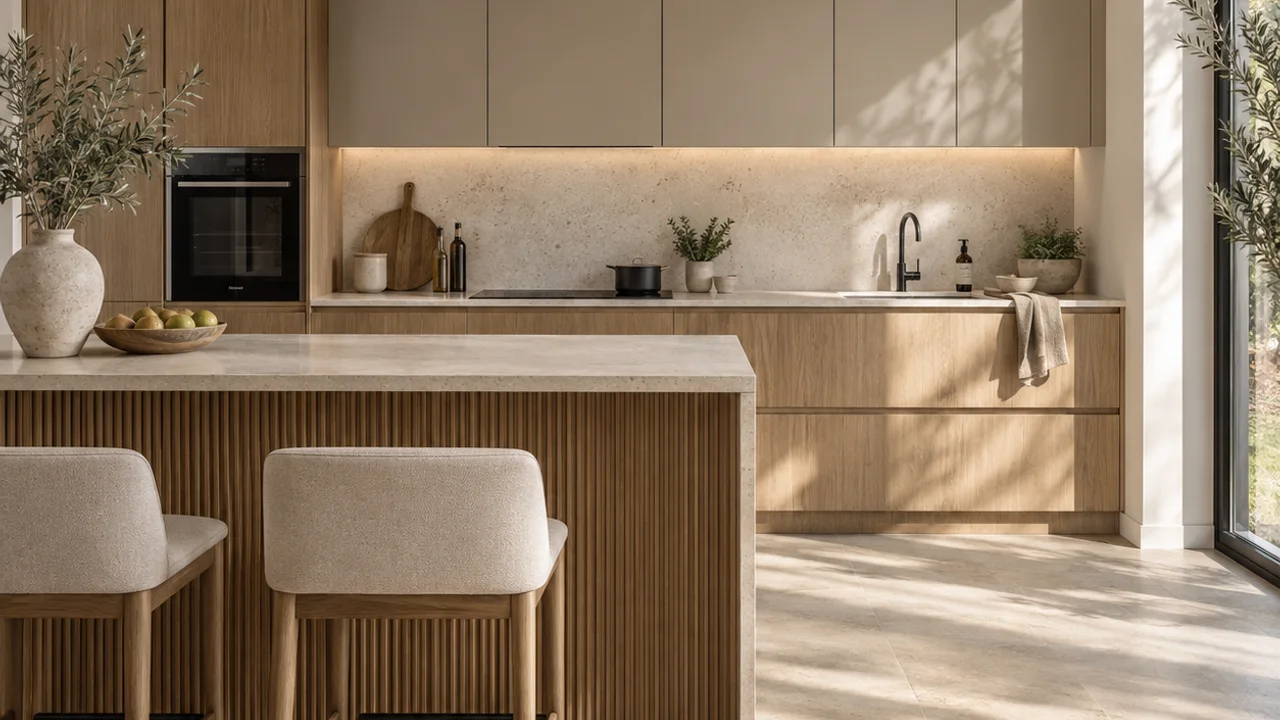
Once the layout direction is clear, put together a kitchen style brief. A visual concept can help you compare colours and materials; it cannot prove that the proposed dimensions will work. In BTTR Space you can start with your room photo or measurements to explore that visual direction.
Common questions
Is a 3 × 3 metre kitchen big enough for an island?
In our one-run example, a 60 cm cabinet run and 120 cm gaps on both sides use the entire 300 cm width before adding an island. That arrangement does not leave room for one. A different layout or target changes the arithmetic, but the number of square metres alone cannot answer the question.
Does a smaller island always solve the problem?
It improves the geometric gaps, but it may still sit in a doorway or block an appliance. Also check whether the smaller unit would provide the storage, workspace or seating you wanted.
Can I use the calculator for a room with no cabinets?
Yes. Choose No cabinets, or set all four cabinet depths to zero. With equal targets, a proposed island is centred in the rectangular room. Include any furniture or other obstructions in a separate measured plan.
Does a passing result mean I can install the island?
No. It means the calculated gaps reach your selected target under the displayed assumptions. It does not assess fixing, services, appliance access, seating or local requirements.
Sources & assumptions
- NKBA Kitchen Planning Guidelines, guidelines 2 and 6–9: openings, circulation and seating
- IKEA ENHET installation guide, printed page 14: building a kitchen island
Sources checked on 21 September 2026. Plans are BTTR Space’s original geometric scenarios, not completed client projects. The appliance opening is an illustrative dimension. Published NKBA guidance and the IKEA product guide are references, not a check of current local installation or accessibility requirements.

BTTR Space editorial team
Practical guides to room planning, kitchen inspiration and visual concepts. We explain the assumptions behind our examples and link to sources for technical claims.
Our editorial approach →See a new direction for your kitchen
Start with your room, explore a layout and choose the details you love.
Create your kitchen →