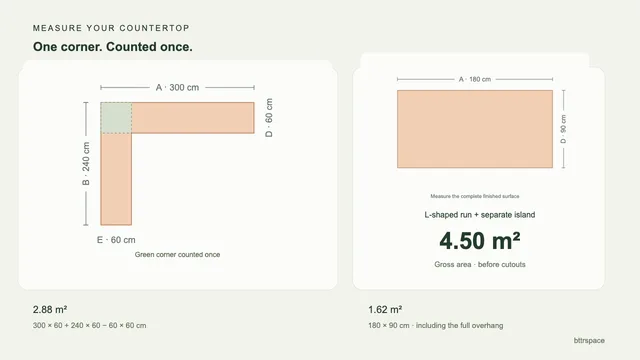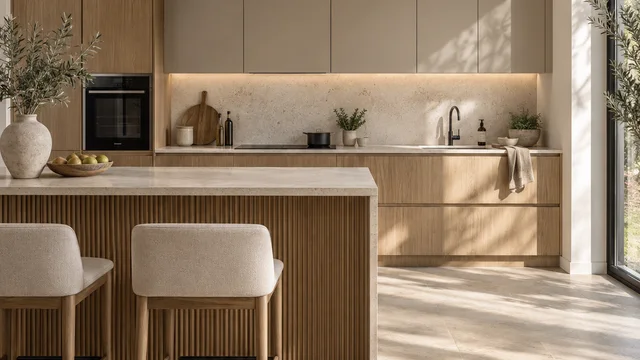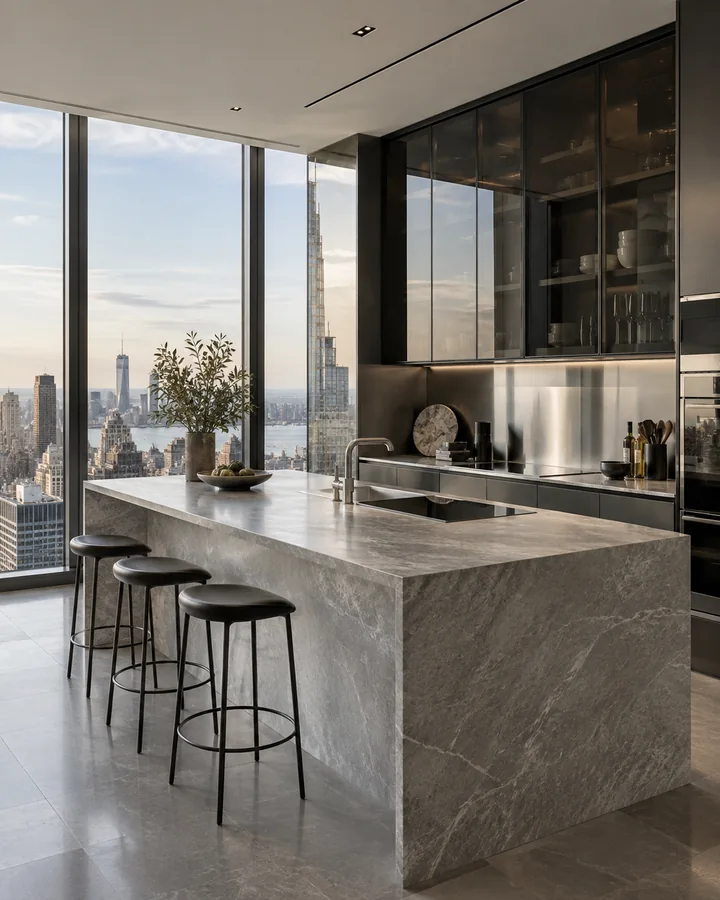
Sketch each countertop section from above, measure its full length and depth, then add the areas without overlapping the corners. Divide square inches by 144 for square feet, or square centimetres by 10,000 for square metres. Keep the full surface area and any cutout deductions separate.
Start with a sketch and a clear measuring edge
You need a tape measure, something to draw on and a consistent unit. Sketch the countertop from above and label every separate surface: the main run, the return, an island or a peninsula. Mark the wall sides so it is clear which edges face the room.
Measure the finished countertop, including its projection beyond the cabinet doors. A cabinet depth and a worktop depth describe different edges. If you are planning a new kitchen, write down the proposed surface dimensions and identify them as estimates rather than measurements of something already installed.
- Length: follow the outside edge of the section from one end to the other.
- Depth: measure across the surface, perpendicular to its length.
- Overhang: include it once in the total depth or length; do not add it again after measuring the finished surface.
- Units: keep one unit throughout your sketch. Ten feet six inches is 126 inches; three metres is 300 centimetres.
The Lowe’s measurement guide similarly starts with a drawing and records separate countertop sections, including islands and peninsulas. It keeps the spaces for sinks and cooktops in the measurement. Take a photograph alongside your sketch to explain the arrangement.
If you are still deciding on the room arrangement, compare kitchen layouts before finalising the individual surface dimensions.
Example 1: a straight countertop in inches
A rectangular run has two measurements. Multiply its length by its depth to get square inches, then divide by 144. There are 12 inches in each side of a square foot, so a square foot contains 12 × 12 = 144 square inches.
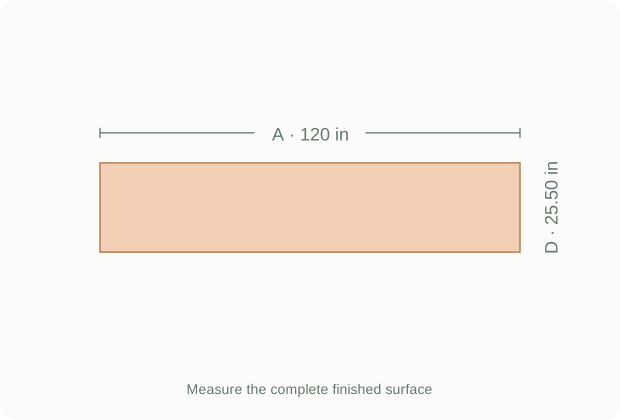
120 in long × 25.5 in deep
120 × 25.5 = 3,060 square inches.
3,060 ÷ 144 = 21.25 sq ft.
In metric units, the same surface is 304.8 × 64.77 cm, or about 1.97 m². Switching units changes the display, not the underlying surface.
Open this straight-run example →
For two separate galley runs, calculate each rectangle and add the two areas. The walking space between them contributes no countertop area. If one side has a freestanding cooker or a full-height cabinet breaking the worktop, record the actual pieces on either side instead of measuring across the gap.
Example 2: measure an L-shape without counting the corner twice
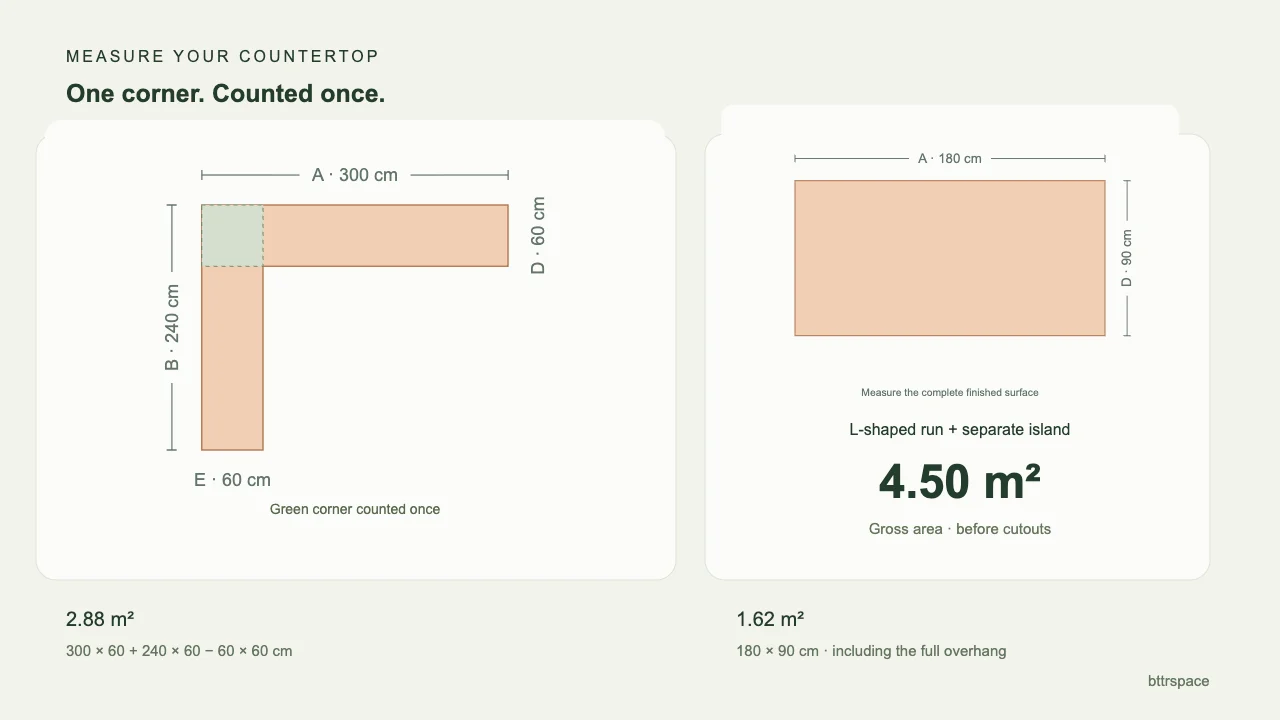
An L-shaped countertop can be measured using its two full outside lengths, A and B, and the two depths, D and E. Each full-length rectangle includes the shared corner. Adding both rectangles would count that corner twice.
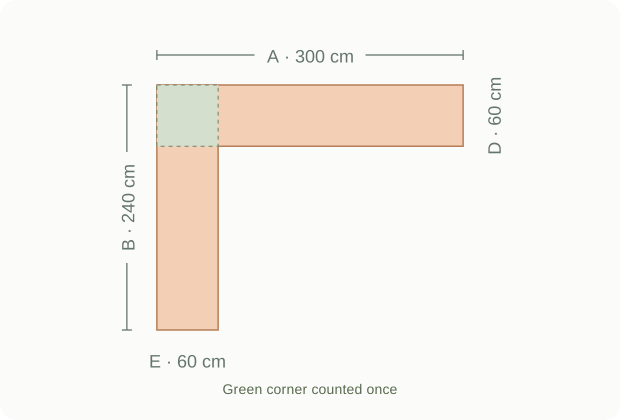
A 300 × 240 cm L, with 60 cm depths
First leg: 300 × 60 = 18,000 cm².
Second leg: 240 × 60 = 14,400 cm².
Shared corner: 60 × 60 = 3,600 cm².
(18,000 + 14,400 − 3,600) ÷ 10,000 = 2.88 m², about 31.00 sq ft.
Adding both full legs without the correction gives 3.24 m²: an overcount of 0.36 m², or 12.5% of the actual surface.
The same formula works when the depths differ: (A × D) + (B × E) − (D × E). For instance, changing depth E to 65 cm in this example gives (300 × 60) + (240 × 65) − (60 × 65) = 29,700 cm², or 2.97 m².
There is another valid method: split the L into rectangles that do not overlap. Here, that would be 300 × 60 cm and 180 × 60 cm. Those areas already add to 2.88 m², so there is no further corner deduction. Use one method consistently. In our calculator’s L-shaped mode, enter full outside lengths; use separate rectangles only when your measurements already exclude the shared corner.
Example 3: add an island and keep cutouts separate
An island is a separate surface. Measure its complete top, including any seating overhang, and add that rectangle to the perimeter worktop. Do not use the room’s free-space area or the cabinet footprint as a substitute.
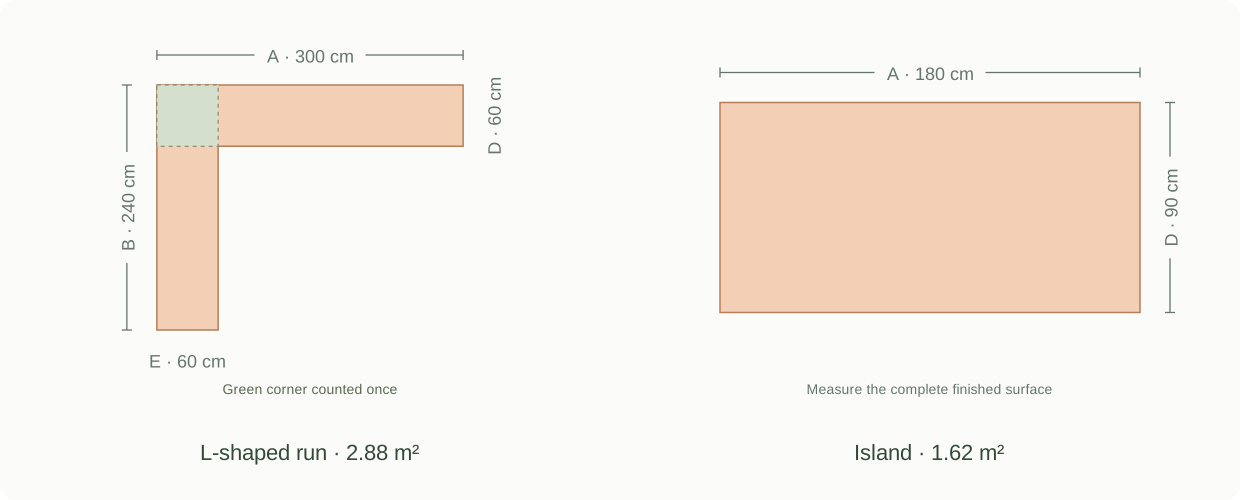
L-shaped run + a 180 × 90 cm island
Perimeter L: 2.88 m².
Island: 180 × 90 ÷ 10,000 = 1.62 m².
Total gross surface: 4.50 m², about 48.44 sq ft.
A rectangular 50 × 40 cm opening removes 0.20 m². The net surface is therefore 4.30 m², about 46.28 sq ft. The calculator still shows 4.50 m² as the primary, gross result.
Open the complete example with the cutout →
Use the opening dimensions, not the sink’s outer rim, for a geometric cutout calculation. The exact opening comes from the chosen fixture and its installation specification. Our tool records rectangular cutout areas without placing them on the plan; it does not check their spacing or the strength of the remaining material.
A smaller net surface is not automatically a smaller material order. An opening may be cut from an otherwise complete piece. Ask the fabricator how openings affect the quote and cutting layout instead of deducting them from an assumed slab requirement.
To check whether that island fits your room, use the separate island size calculator and our guide to island space and clearances. Countertop area cannot answer the circulation question.
What changes for a U-shape, backsplash or waterfall?
U-shaped counters: draw three non-overlapping rectangles. One simple approach is to give the back run its full length and start both side rectangles at the front edge of that run. The side lengths then exclude the back-run depth. Add the three resulting areas. Using three full outside lengths would count two corners twice.
Backsplashes and waterfall panels: record these vertical surfaces separately, with their own width and height. They may use the same material, but mixing them into a horizontal countertop total makes the measurement record harder to interpret. Edge finishing, joins and pattern alignment still need to be specified.
Curves, angled ends and irregular walls: a rectangular bounding box overstates a curved surface and says little about how it will be cut. Keep a dimensioned sketch of the actual outline for the supplier. The calculator’s rectangle and right-angled L modes do not model those shapes.
Take a measurement record, not a material order
The useful output is a labelled list of surfaces, dimensions and areas that someone else can follow. Save or print the calculator result together with photos and your room sketch. Include a note for anything still proposed: a deeper island, a new appliance or a change in cabinet position.
The Home Depot countertop worksheet describes this as preliminary measurement and separates it from the installer’s final template. Its measurement method is useful here; its historical prices and service terms are not used.
Before a material order, resolve the actual outline, cutout specifications, seams, edge profile and support. Slab dimensions and vein direction can change how the pieces are arranged, even when the summed area is identical. A fixed waste percentage cannot determine that arrangement on its own.
Turn your sketch into a clear area breakdown
Add your sections, keep the corner maths visible and save a copy for your next conversation.
Calculate your countertop area →Common measurement questions
Is countertop square footage the same as kitchen floor area?
No. Countertop area includes only the measured work surfaces. Floor area includes the whole room footprint. A larger room does not necessarily have more countertop.
Should I use cabinet depth or countertop depth?
Use the full surface depth. If you only have a cabinet drawing, add the intended projection to create a proposed worktop dimension and mark it as an estimate. Do not add an overhang again when it is already in the measurement.
Do I round each section up?
Keep the recorded measurements and calculate from those values. Our tool rounds the displayed area to two decimal places after calculation. A supplier may use different billing or order increments; confirm those separately rather than changing your original measurements.
Sources & assumptions
- Lowe’s — Kitchen Countertop Measure Guide (US; measurement method)
- The Home Depot — Countertop Project Estimation Worksheet (US, form dated 06/05; preliminary measurement method)
Sources checked 21 September 2026. Worked examples, calculations and diagrams are original BTTR Space illustrations, not completed client projects or professional installation reviews. All dimensions in the examples are editable assumptions. The tool measures geometry; it does not specify fabrication, structural support, costs or a material order.

Elena Marini
Room planning & layouts
Elena is BTTR Space’s editorial voice for room planning and kitchen layouts. Her guides focus on the decisions that come before finishes: room proportions, fixed openings, circulation and the relationship between storage and everyday tasks. The emphasis is on turning a room into a clear brief, with practical questions to take to a kitchen designer or installer.
Full editorial profile →See a new direction for your kitchen
Start with your room, explore a layout and choose the details you love.
Create your kitchen →